How to Create A Page
Once you’ve installed WordPress, WordPress will send you your credentials (username and password) to log in to your new WordPress site.
You can find your dashboard by typing in www.yourdomainname.com/wp-admin into your URL bar.
1. Login
You will then see a login screen where you enter your username and password and hit “login.”
Once you hit login, WordPress will direct you to your dashboard that looks something like this.

2. Add a new page
Add a new page to WordPress using the top navigation bar or navigate to “Pages”
The first way to add a new page to your website is to turn your attention to the top navigation bar. You will see a plus (+) sign with the word “New” next to it.
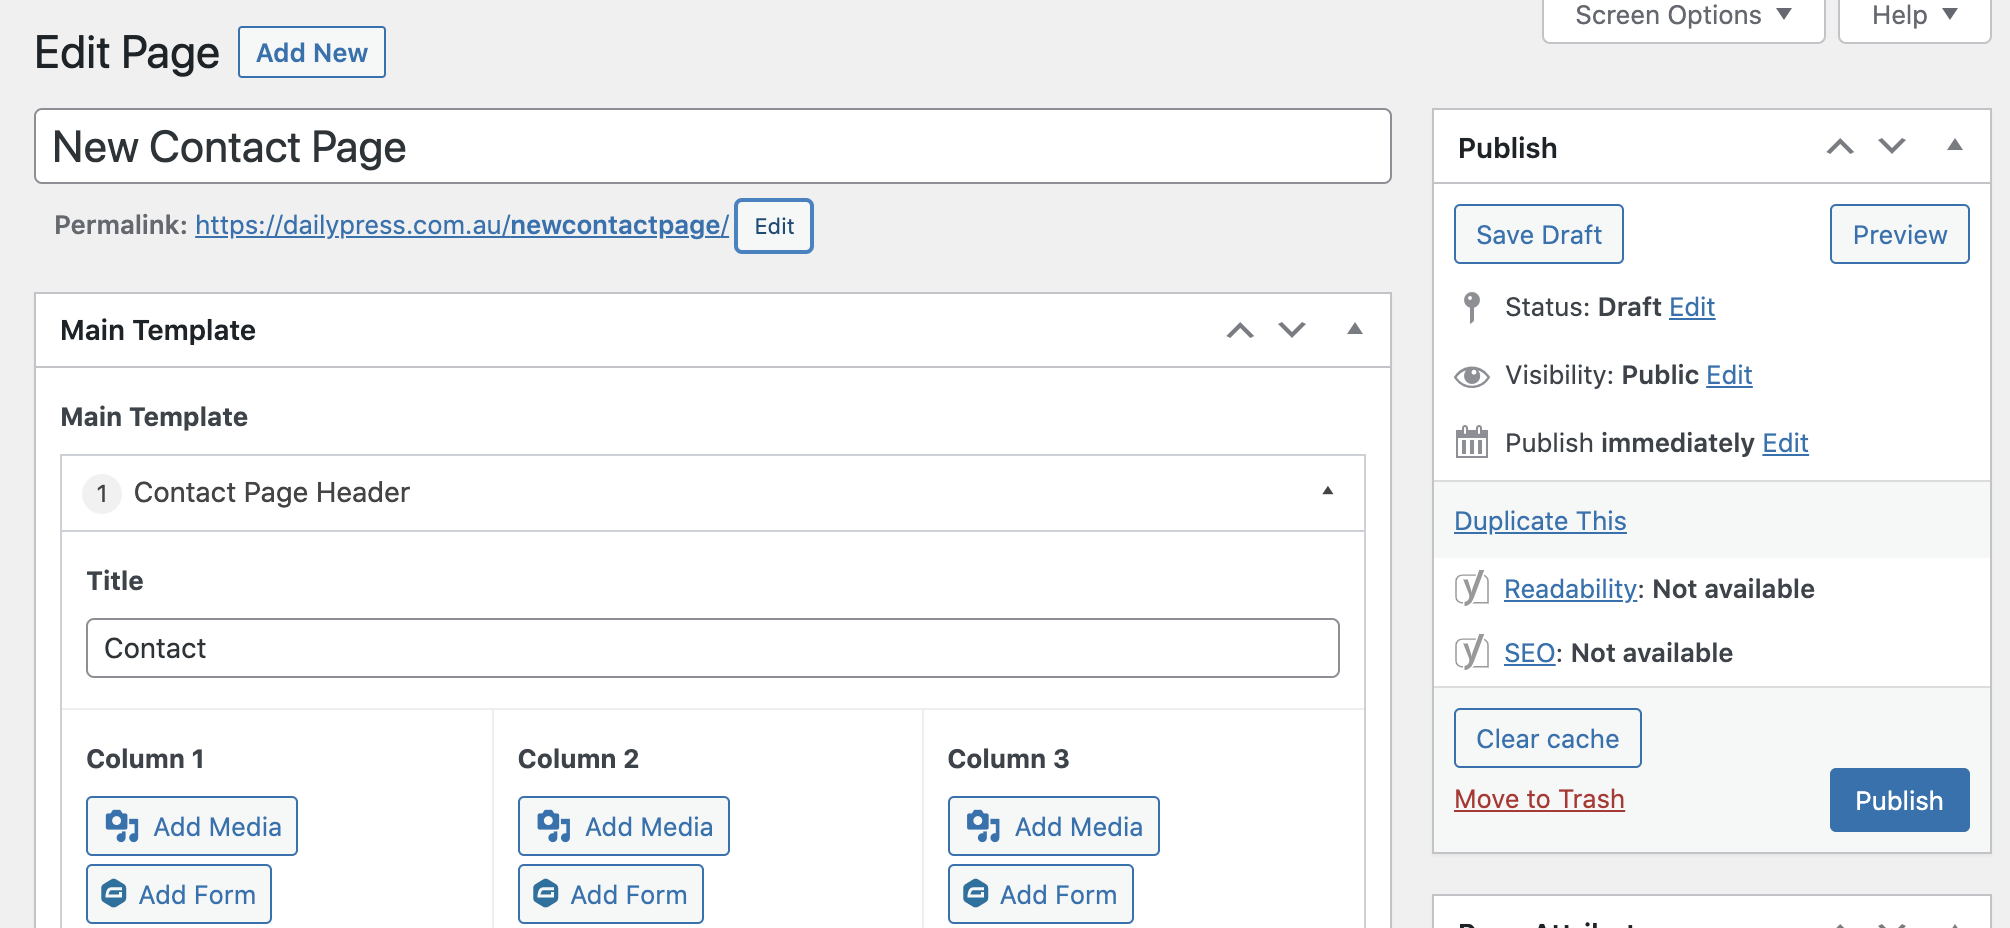
You can also find a page that you would like to clone, ensuring a duplicate post plugin is installed, using this recommended plugin called Yoast Duplicate Post – and select “duplicate this”.

3. Update Page Details
When you add a new page, the first thing you will see is “Add Title.” This is the title and menu name of your page. Please ensure to change the title. You can’t have two pages with the same title.
Keep the title of your page short, sweet, and to the point.
Updating the permalink to the desired URL link. This is what your new page url will be. If you cloned the page, it will replicate the same title so this needs to be changed.
Update the desired elements on the page. Press Save or Preview.

3. Add Page to Menu
Here are some insights on what can go inside your menus, how you can set them up, and where you should place them on your site.
To edit these, go into your WordPress dashboard:
Click on “Appearance.”
Then click on “Menus.”
You can add categories, pages, or custom links to a menu. Categories and pages must be created before they are able to be added as menu items here.
Select the page you created and then add it to the menu, you can drag and drop this to the desired location. As the main menu or as a sub-menu.


